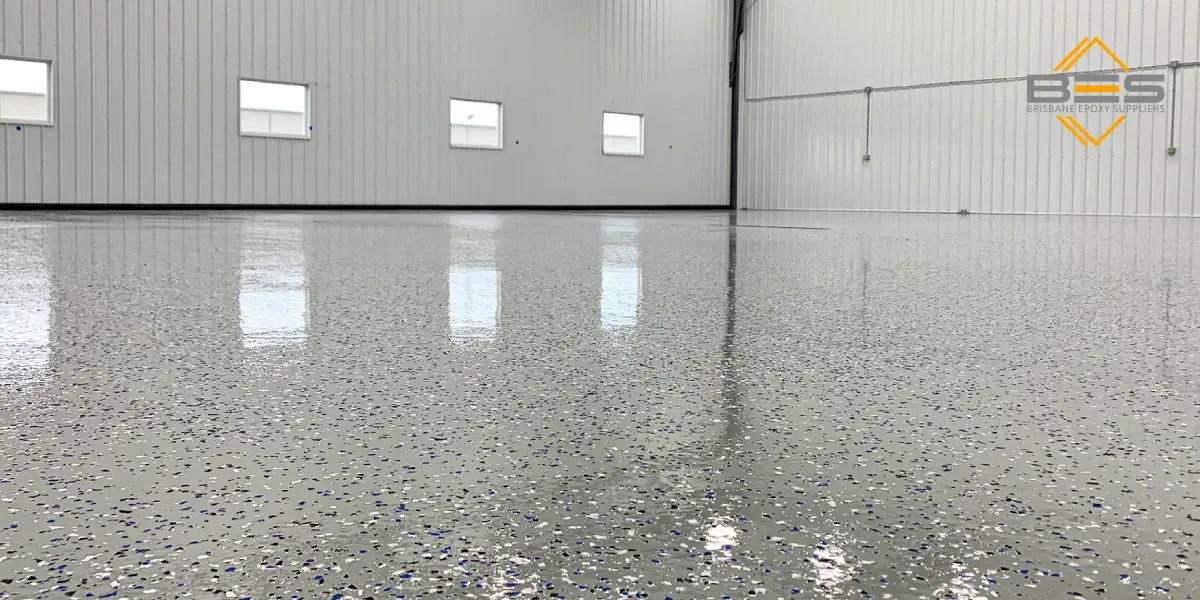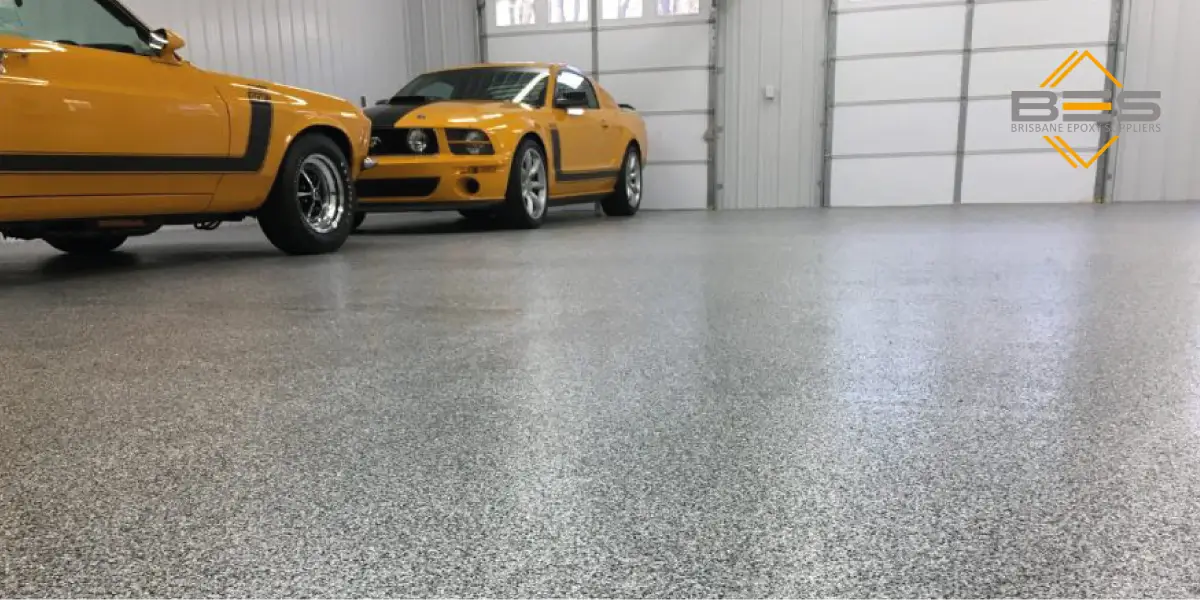
Thinking about giving your garage floor a fresh new look with an epoxy coating? That’s a great idea—epoxy coatings not only look sleek and professional, but also add durability and resistance to wear and tear. However, there’s one critical step that many DIYers and even some professionals overlook: repairing cracks before applying epoxy. Even the smallest cracks can compromise your epoxy floor coating. If not treated properly, they can cause adhesion failure, moisture problems, or visible surface imperfections. In this comprehensive guide, we’ll walk you through how to fix cracks in concrete garage floors before applying epoxy, why it’s important, and what tools and materials you need for a professional result.
Why You Should Repair Cracks Before Epoxy Coating
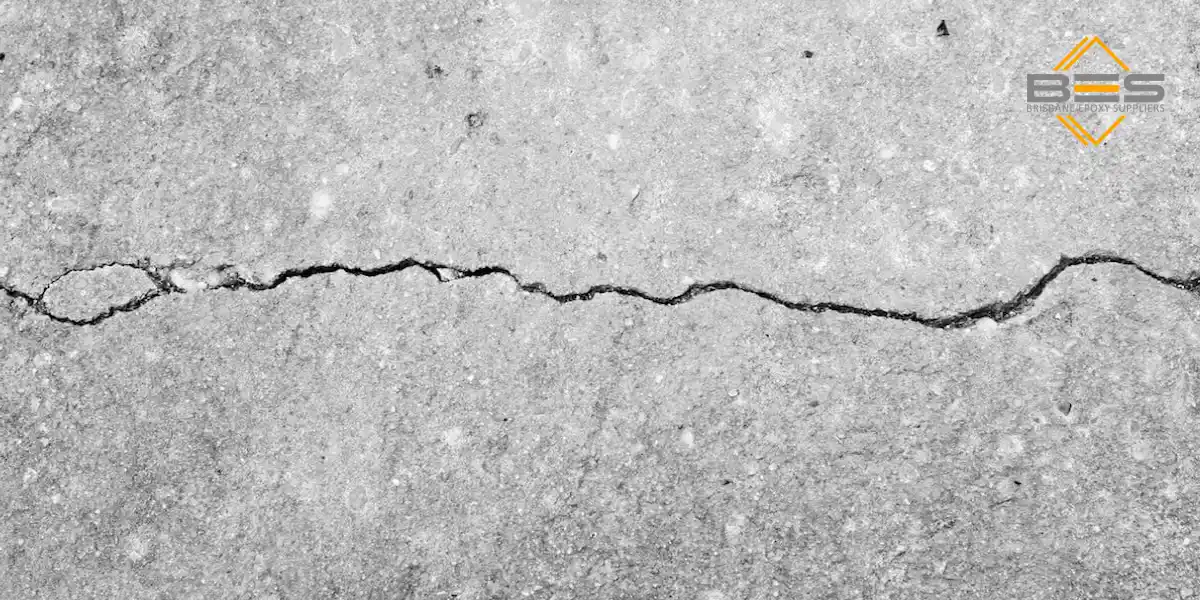
Concrete may look solid, but it’s a porous material that expands and contracts with temperature and moisture changes. Over time, this movement causes cracks—some hairline, some wide. If you apply epoxy directly over these cracks, you risk:
- Epoxy delamination: Cracks allow air and moisture to get trapped under the coating, leading to peeling.
- Visible flaws: Epoxy coatings are thin and glossy—any surface defect will show through.
- Structural issues: Deep cracks can indicate underlying slab problems that worsen over time.
- Premature coating failure: Cracks weaken the bond between epoxy and substrate, shortening the floor’s lifespan.
By repairing cracks properly before epoxy application, you’re ensuring better adhesion, improved durability, and a flawless visual finish.
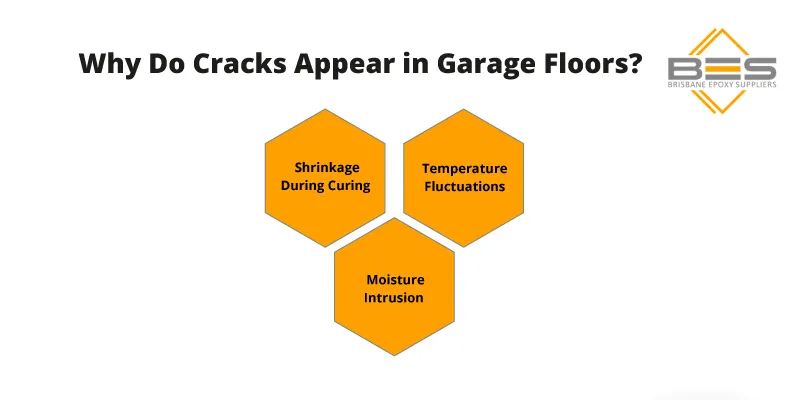
What Causes Cracks in Garage Concrete Floors?
Understanding why cracks appear can help you decide whether basic repair is enough or if a structural assessment is needed. Common causes include:
- Shrinkage during curing: As concrete cures and loses moisture, it contracts, causing hairline cracks.
- Soil movement or settling: Shifting soil beneath the slab can lead to deep, wide cracks.
- Temperature changes: Freeze-thaw cycles or thermal expansion create stress on the surface.
- Heavy loads: Repeated vehicle traffic, tool drops, or equipment can damage the concrete.
- Moisture infiltration: Poor drainage or water vapor rising from the slab can lead to cracking over time.
How to Fix Cracks in Garage Floor Before Epoxy: Step-by-Step
This step-by-step method will guide you through repairing cracks the right way, whether you’re dealing with hairline surface cracks or wider structural issues.
Step 1: Inspect and Assess the Cracks
Identify the types of cracks present. Hairline cracks (< 1/16″) are typically cosmetic, while anything wider may indicate movement or deeper issues. Measure the depth and width to determine the right filler.
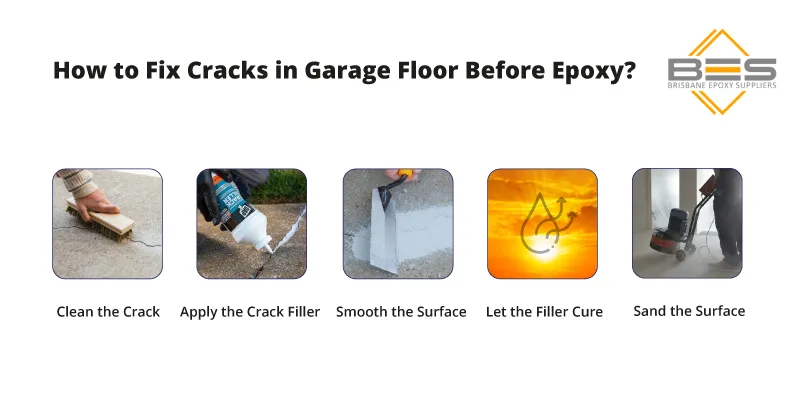
Step 2: Clean the Area
Remove dust, dirt, and loose debris using a broom or shop vac. For oil-stained areas, use a degreaser or concrete cleaner to ensure the crack filler adheres properly.
Step 3: Widen and Undercut the Cracks (If Needed)
Use a chisel and hammer or an angle grinder with a diamond blade to slightly widen V-shaped cracks. This allows the filler to penetrate deeply and anchor better.
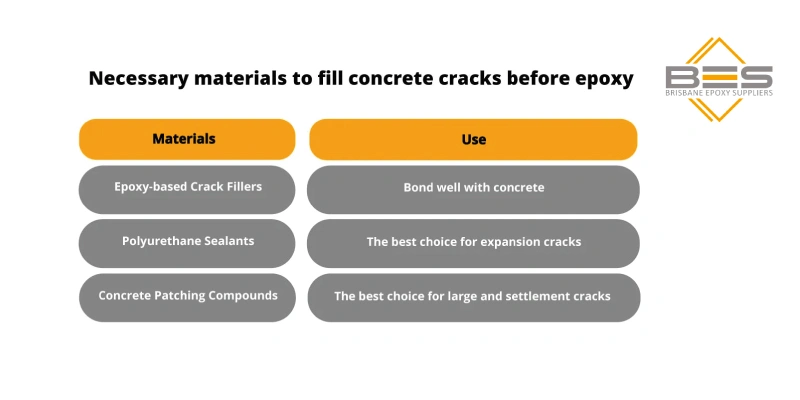
Step 4: Choose the Right Crack Filler
There are several types of crack fillers:
- Epoxy-based fillers: Best for structural repair and compatibility with epoxy coatings.
- Polyurethane sealants: Flexible and good for expansion joints.
- Vinyl concrete patchers: Suitable for shallow surface cracks only.
Tip: Match your crack filler to the epoxy system you’re using. Some brands offer compatible repair kits (e.g., Sika, Epoxymix, Chemstuk).
Step 5: Apply the Filler
Using a trowel or putty knife, press the filler deep into the crack. Overfill slightly to compensate for shrinkage during curing. Smooth the surface using a straight edge or float.
Step 6: Allow Proper Cure Time
Let the filler cure completely as per the manufacturer’s guidelines—usually 6 to 24 hours. Rushing this step can cause bubbling or separation.
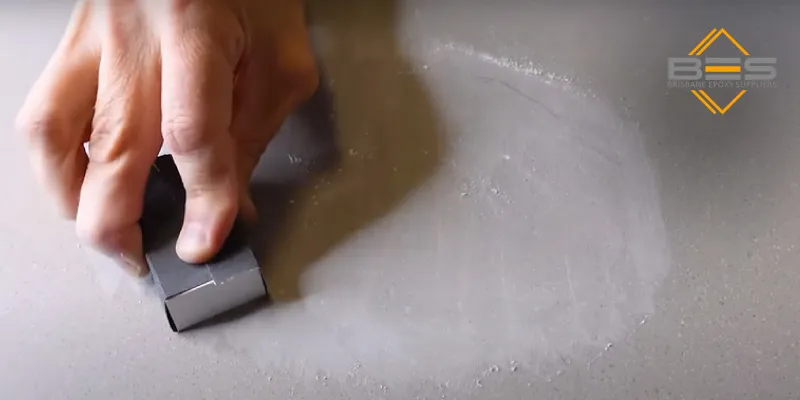
Step 7: Sand or Grind the Surface Smooth
Once cured, sand the filled area flush with the surrounding concrete. Use a hand sander, floor buffer, or diamond grinder for best results. A level surface ensures even epoxy coverage.
Step 8: Vacuum Again
Remove all dust from sanding using a vacuum or microfiber cloth. Cleanliness is crucial for epoxy adhesion.
Optional: Apply Primer Before Epoxy
For best results, apply a compatible primer after crack repair and before the main epoxy coat. This helps seal pores, improve adhesion, and reduce the risk of outgassing or bubbles.
Recommended Tools & Materials
| Tool / Material | Purpose |
|---|---|
| Angle grinder or chisel | Crack widening & cleaning edges |
| Concrete crack filler | Sealing and repairing cracks |
| Putty knife or trowel | Filler application and smoothing |
| Shop vacuum | Cleaning dust and debris |
| Sandpaper/grinder | Smoothing filled areas |
| Protective gear (gloves, mask) | Personal safety during sanding or grinding |
Common Challenges (and How to Overcome Them)
1. Deep Cracks
- Solution: Apply filler in thin layers and allow proper curing time for each layer.
2. Working in Poor Weather
- Solution: Apply filler between 50°F and 85°F with low humidity. Choose a cold-weather-friendly filler if necessary.
3. Uneven Repairs
- Solution: Use a grinder after the filler cures to level the surface before applying epoxy.
Epoxy Floor Application After Crack Repair
Once your surface is smooth and the cracks are repaired:
- Clean and dry the entire garage floor.
- Apply a primer coat.
- Let it dry.
- Apply the first coat of epoxy.
- Add flakes or anti-slip agents (optional).
- Let it cure for 12–24 hours.
- Apply the second coat.
- Let it final cure for 24–48 hours.
When to Call a Professional
If you notice large structural cracks, significant floor movement, or moisture seepage through the concrete, it’s best to consult a professional contractor. Improper crack repair can lead to costly issues later, especially if you’re investing in a high-performance epoxy system.
Need Epoxy Crack Repair Supplies?
At Brisbane Epoxy Suppliers, we stock premium crack fillers, repair kits, primers, and epoxy floor systems suitable for garages, workshops, and commercial floors. Whether you’re a DIY enthusiast or a contractor, we’ve got the right products to make your job easier and longer-lasting.
Shop Concrete Crack Fillers | Contact Us for Advice | Browse Garage Epoxy
Conclusion: Don’t Skip Crack Repair Before Epoxy
To ensure the long-term performance and beauty of your epoxy garage floor, it’s crucial to fix cracks in the garage floor before epoxy application. By taking the time to clean, fill, and level your surface, you’re preventing problems like peeling, moisture infiltration, and structural weakening. Whether you’re tackling the project yourself or working with a professional, understanding how to fix cracks in the garage floor before epoxy is the key to a durable, seamless epoxy finish that stands the test of time.
Need help or professional advice? Our team is ready to guide you every step of the way.