How to Do Epoxy Flooring: A Complete Step-by-Step DIY Guide
Plain concrete floors can be pretty boring. But what if you could turn that dull space into a stylish, long-lasting masterpiece? You can do just that with epoxy flooring. If you want to do this without hiring expensive contractors or complicated instructions, we’re about to share the secrets of how to do epoxy flooring yourself. These guides include steps of the process, including mixing the resin with hardener, pouring it on the surface, and letting it cure.
Step-by-Step Guide to Installing an Epoxy Floor
Let’s dive into learning how to do epoxy flooring together.
Prepare floor
- Clean the floor: Use a broom, vacuum, and possibly some degreaser to remove all dirt, grease, and debris.
- Fix any cracks: Fill in any cracks and holes with a special patching compound and let it dry completely.
- Prime the surface: Remember to apply an epoxy primer to help the paint stick better. Let it dry as directed by the manufacturer.
- Ventilate the area: Work in a space that has good airflow.
Mix the Epoxy
- Read the instructions carefully: Follow the mixing ratios for your epoxy, which is usually a mix of resin and hardener.
- Mix the liquids: Pour the liquids into separate containers and carefully blend them according to the instructions using a mixing stick. Do not overmix.
Here is how to apply epoxy flooring
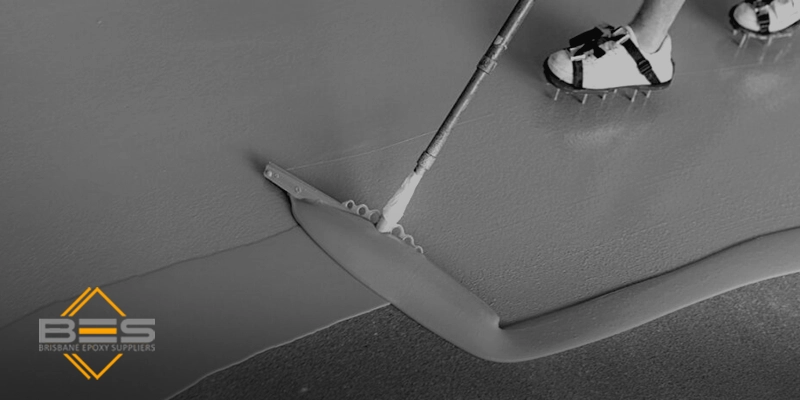
- Pour the epoxy: Pour the mixed epoxy onto the floor.
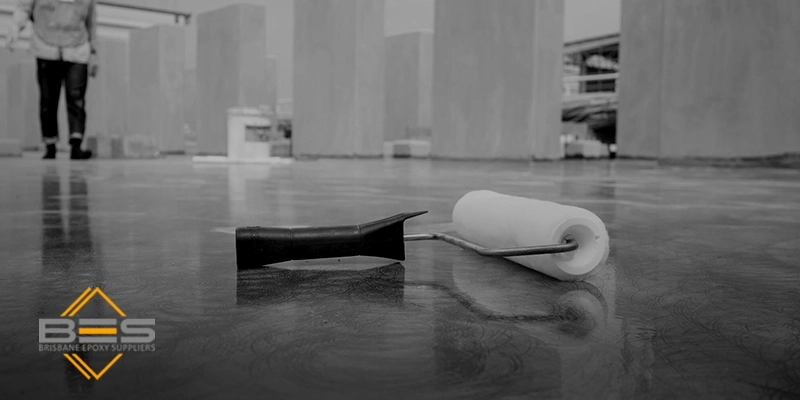
- Spread it out: Use a roller or squeegee to spread the epoxy across the entire surface evenly. Please work rapidly but with caution to prevent the formation of air bubbles.
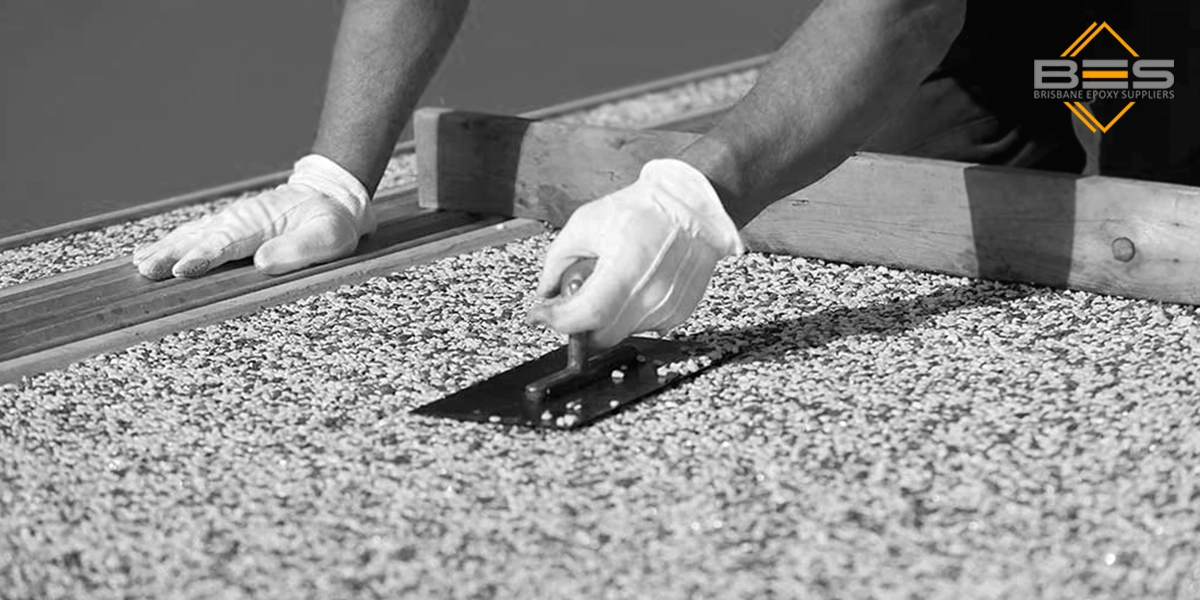
- Smooth the surface: Use a roller or squeegee to make sure the surface is smooth and even, and it doesn’t have any bubbles.
- Allow it to dry: Let the epoxy dry and harden, following the instructions on the bottle for drying time.
Finish Up
- Let it cure: After the initial drying time, allow the epoxy to cure fully; it usually takes 24-72 hours.
- Apply sealant: Once the epoxy is fully cured, apply a sealant to protect the surface from scratches and stains.
High-quality materials and tools play a crucial role in receiving the durability and seamless finish you want, so be picky about where you buy the products to do epoxy flooring.
How to Apply Epoxy Concrete Floor Paint
First, get your floor ready for painting. Sweep and mop it to remove any dirt and grime. Then use a patching compound and fill in any cracks or holes. Buy an epoxy mix kit combo, which allows you to cover cracks properly for any projects and change the nozzle after one finishes. Let the patching compound dry completely. Next, use an epoxy primer to help the paint stick to the concrete. Allow the primer to dry thoroughly. Because epoxy paint fumes can be harmful and make sure you have a good airflow by opening windows or using a fan.
Pour the paint into the tray and use the roller to spread it evenly on the floor. Work in long, even strokes and take your time. If you see any air bubbles, smooth them out with the roller. Let the first coat of paint dry completely. Then, repeat the painting process with a second coat. Once the paint is cured, apply a sealant to protect the surface from scratches and stains.
How to Maintain Epoxy Concrete Flooring
After learning all about how to apply epoxy flooring, you should know some key points about maintaining it. Sweep regularly to get rid of dirt and dust with a broom or vacuum then mopping regularly with a mild cleaner and water to mop the floor. Avoid harsh cleaners or abrasives; they can damage the epoxy. Don’t drop heavy things on the floor, as it can chip or crack the epoxy. If you can use floor mats or rugs in high-traffic areas, it will prevent scratches and wear. Remember to keep it dry: Wipe up spills right away. Moisture can damage the epoxy over time.
Conclusion
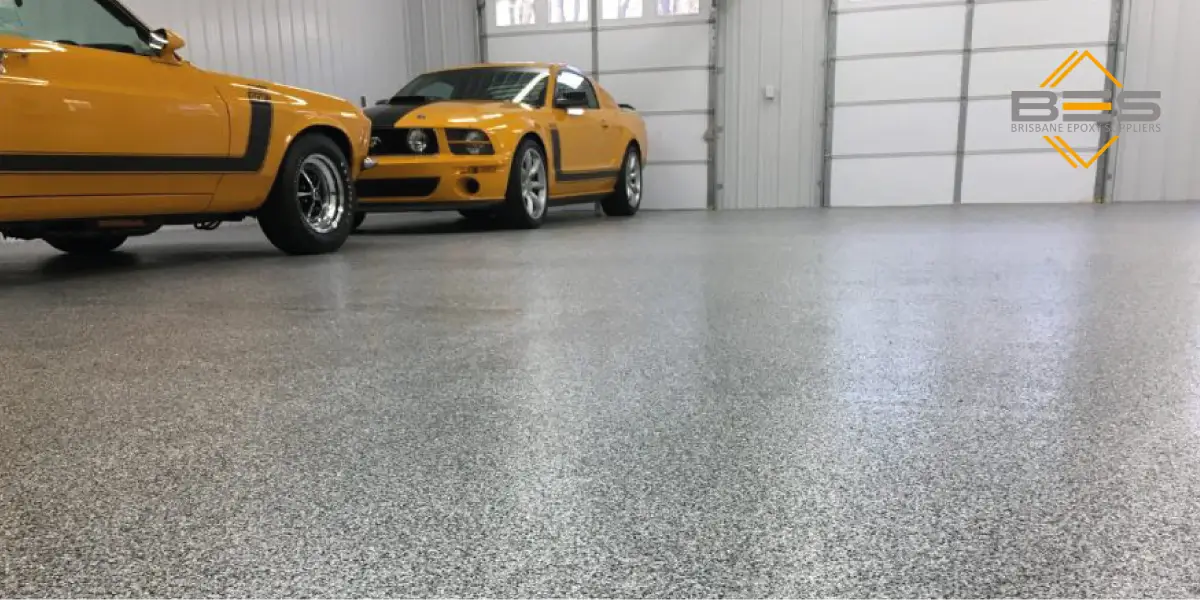
Learning how to do epoxy flooring gives you the power to transform ordinary concrete into a durable and visually striking surface. Whether you’re upgrading a garage, basement, or commercial space, doing it yourself can be both cost-effective and rewarding. With proper preparation, quality materials, and a step-by-step approach, anyone can achieve a sleek epoxy finish that lasts for years.


