If you’re wondering how to do epoxy flooring in garage, you’re not alone. Many homeowners want to upgrade their garage floors to something clean, durable, and visually appealing. Whether your current floor is stained, cracked, or simply dull, epoxy can completely transform the space. In this guide, we’ll walk you through how to do epoxy flooring in garage—from preparation to final application—so you can confidently take on the project and enjoy lasting results.
Why Epoxy Your Garage Floor?
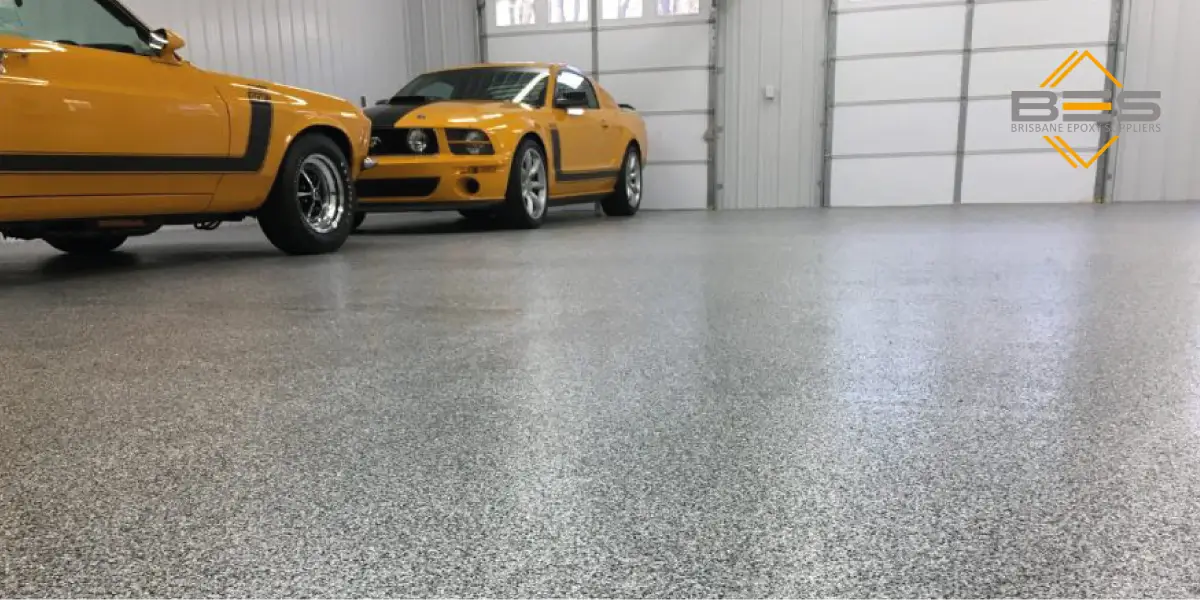
How to do epoxy flooring in garage is more than just about looks, although it does make your garage seem awesome. It is a long-lasting protective coating that can survive frequent utilization. Also, this material doesn’t leave stains on floors like other substances do. With construction projects involving cars left sitting around, stains can appear within no time before completion, even if it starts if this coating isn’t applied. Epoxy floors also don’t face degradation because they are left alone without being worked on for extended periods, as they don’t absorb harmful substances due to their chemical composition. It’s one of the reasons that epoxy floors are so popular at Brisbane Epoxy Supplier. For this reason, don’t fret over spills or drips.
Benefits of Epoxy Flooring
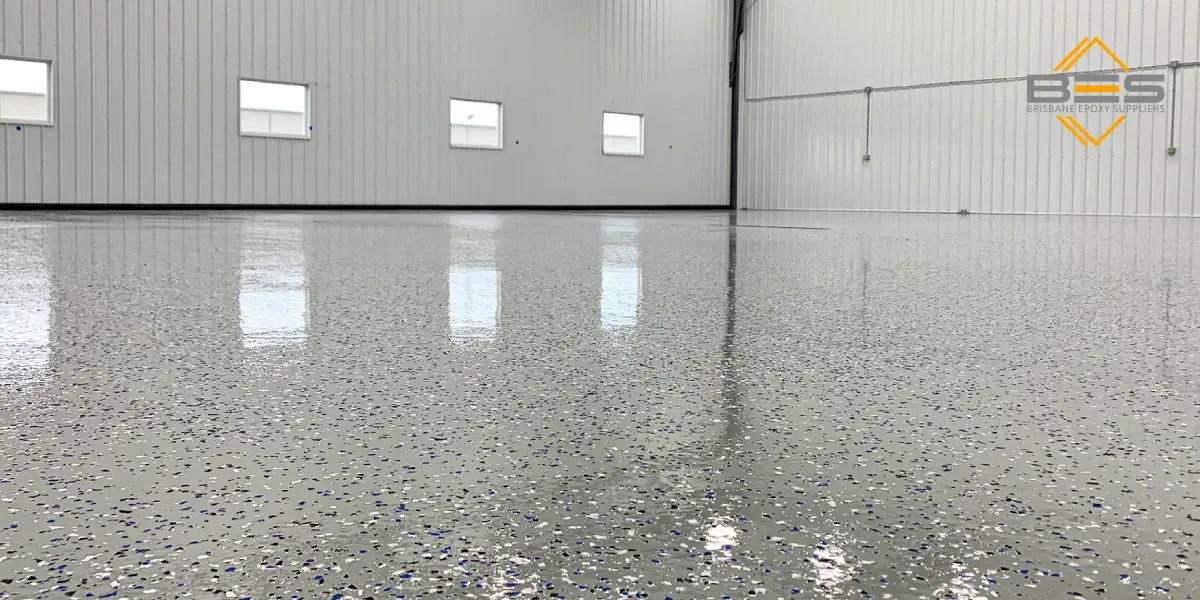
- Durability: Epoxy flooring is highly durable and has excellent longevity, adopting a firm, continuous surface that can bear heavy loads and endure against crashing, wearing, and aggressive substances
- Aesthetic appeal: The epoxy floor is available in different colors and finishes, thus you can easily achieve an individual look. These range from single solid colors to metallic finishes and decorative flake options, among others. The even shiny surface reflects light,t thus making the garage more luminous.
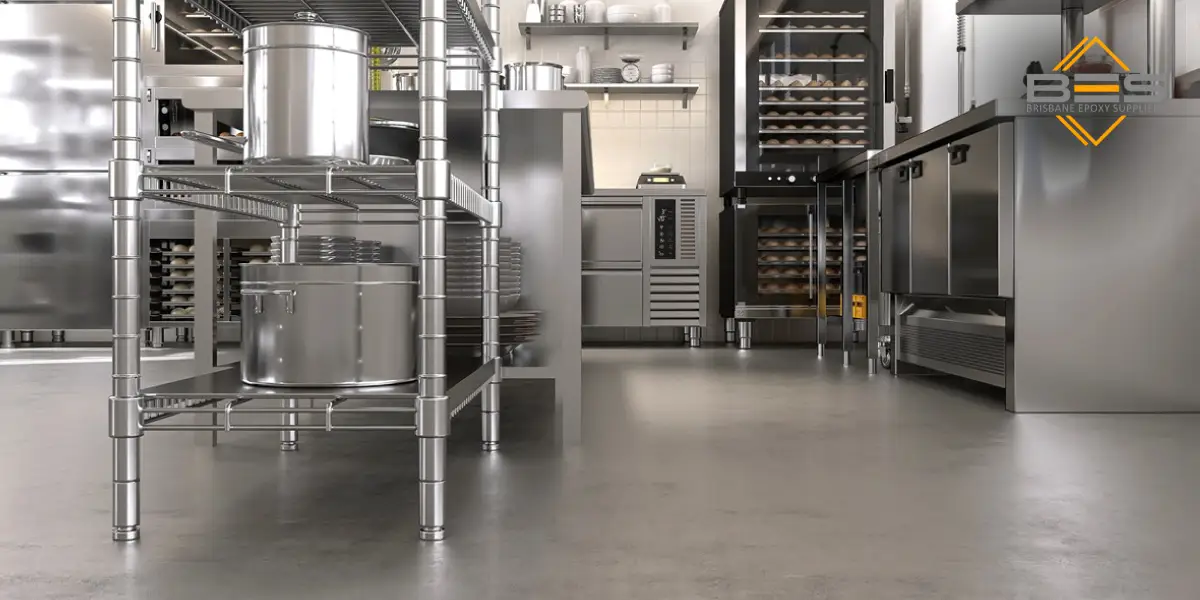
- Low maintenance: The easy-to-clean and maintain epoxy is its smooth, non-porous surface make this possible. Just wipe away easily spilled stains and mop it fast after sweeping the floor.
How do I prepare my garage floor for epoxy?
Before you immerse yourself in learning how to apply epoxy to the garage floor and its interesting features, there is a need to do initial preparations on your garage floor. This ensures that the epoxy adheres well to the concrete, preventing peeling, bubbling, and other issues. This is usually forgotten, but it is the most critical thing when it comes to the success and longevity of epoxy coatings. It’s like how you would not just spread paint over a wall without doing anything to its surface first, right? The same case applies to epoxy flooring, too. If you do not prepare your garage’s floor properly, perhaps by leveling some pits before coating it or consulting, the result may be disappointing, with peels visible everywhere, causing bubbles inside – something every person carrying out this activity should try very hard to avoid.
Tools and Materials You’ll Need
If you gather together everything you might need before getting ready, it will be easier than jumping into it without having all of the required stuff. Here is what you need to gather beforehand:
- Broom and dustpan: For sweeping away debris.
- Shop vac: To remove dust and small particles.
- Stiff-bristled brush: For scrubbing stubborn stains.
- Degreaser: To clean oil and grease stains.
- Concrete etching solution: To roughen the surface for better adhesion.
- Garden hose: For rinsing the floor.
- Squeegee: To remove excess water.
Safety gear: Gloves, goggles, and a respirator mask to protect yourself from chemicals.
Getting Your Garage Floor Ready
- Clear the space: To avoid accidents, you should make sure that there are no items in your garage when working to form a different workplace from the present one.
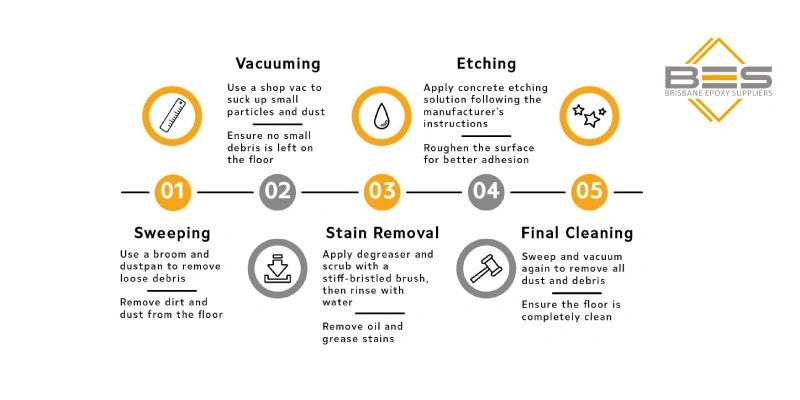
- Clean the floor: Thoroughly clean by sweeping to remove dirt and debris. The next step is using a shop vac to remove particles that remain after sweeping.
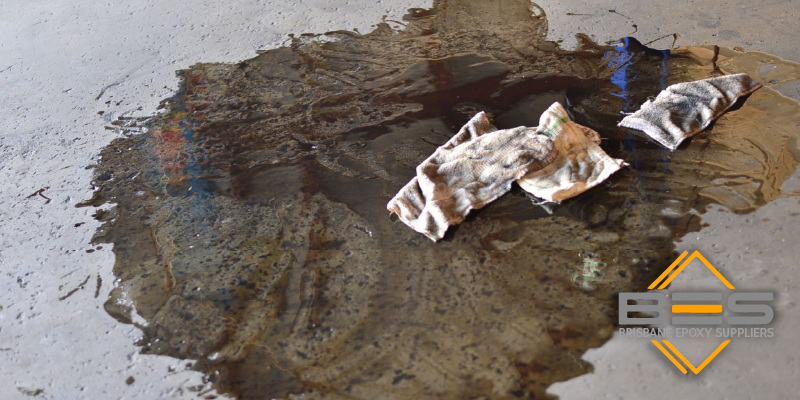
- Tackle stains: Apply soap on the oily or greasy spots, and scrub using a brush that has hard bristles. Ensure to rinse it with water thoroughly.
- Etch the concrete: To guarantee a successful epoxy bond, you must apply the etch solution according to the manufacturer’s directions. Next, rinse and allow it to air dry completely.
- Repair cracks and holes: Use a cement mixture to patch any cracks or holes, creating an even surface.
- Final cleaning: After the patching compound dries, sweep and vacuum all dust and debris from it. An epoxy coating can now be applied, as the flooring is prepared.

How to Install an Epoxy Garage Floor
Putting up epoxy garage flooring involves a series of steps that should be done with caution. Among them are being fully prepared and putting in enough of your efforts. In case you are about to start, remember that you require several tools and other necessary materials like an epoxy package, safety gear, and any other decorative add-ons that suit your taste. The first thing you should do is sweep and clean your garage floor as well as prepare it thoroughly for installing a new epoxy covering. We recommend that everything in the garage should be moved out, then you can use a broom to remove dust and rubbish that have piled up for some time. In addition, if there are any stains on this type of floor, it’s necessary to get rid of them well in advance.
How to Apply Epoxy to a Garage Floor
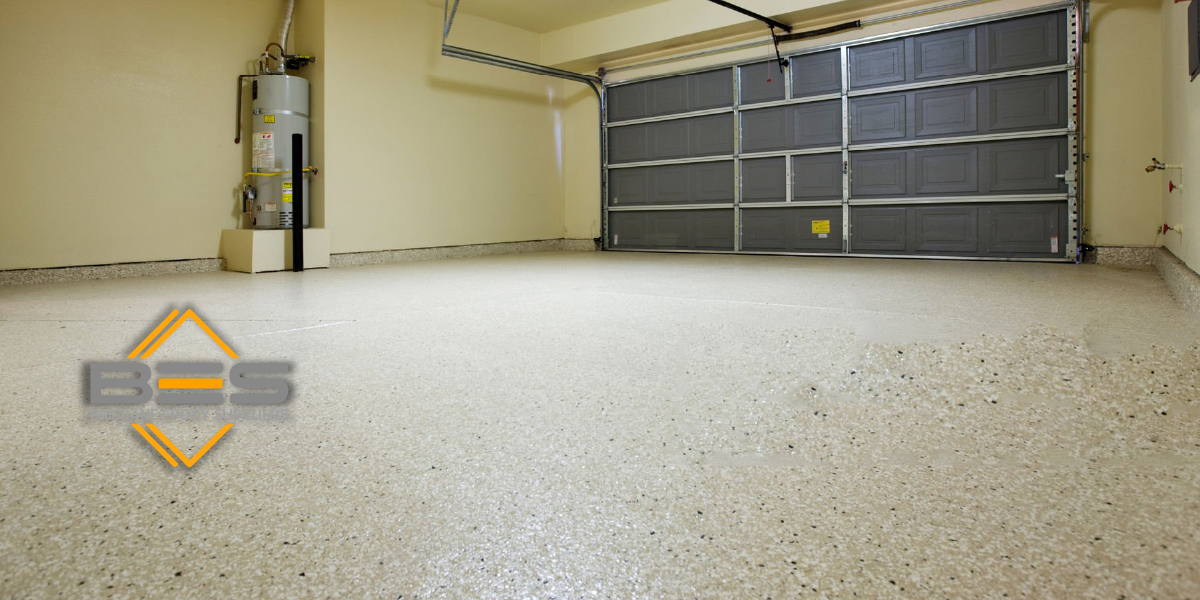
When applying epoxy to your garage floor, the most satisfying part comes. It is important to immediately start operating the mixture as its period of work is limited. To begin with, take a brush full of paint and apply it on the edges and corners because some places cannot allow the roller to reach, then roll for all other remaining parts. You must start at the back of the garage while proceeding towards the exit lest you get engaged. Apply the epoxy evenly using a “W” pattern to ensure full coverage. If using decorative flakes, sprinkle them over the wet epoxy. Let the epoxy dry and cure according to the manufacturer’s instructions, which usually takes a few days (Epoxy Cure Time). Avoid walking or parking on the floor during this time.
conclusion
Now that you know how to do epoxy flooring in garage, you’re ready to take the first step toward a cleaner, stronger, and more beautiful garage floor. With the right tools, proper preparation, and patience during the curing process, your garage can look like a professional workspace or showroom. Whether DIY or with expert help, understanding how to do epoxy flooring in the garage is the key to getting results that last.